


This blog provides a step-by-step tutorial for installing Splunk Universal Forwarder in windows environment using Group Policy Object.

In one of our new Splunk migration projects, the clients had tasked us to deploy Splunk Universal Forwarder (SUF) in several of their windows endpoints. There are many ways an operator can remotely collect security logs from a windows environment, among which the most efficient way is to deploy SUFs using Group Policy Object (GPO). Still, most of these techniques involved modifying and repacking the SUF with external tools, favouring a tech-savvy audience. So we decided to publish a write-up that demonstrates an even more straightforward approach of using Group Policy to deploy Universal Forwarder to all target servers, eliminating the repacking element.
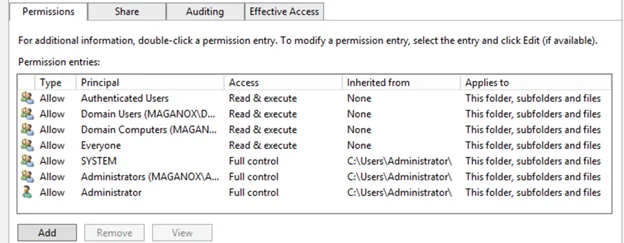
One of the pre-requisites of deploying SUFs using GPO is to create a file share on one of the Domain Controllers (DC); I have created splunk_share on my DC. Ensure this DC has a connection with all the Windows servers of your log sources. Once the file share is set up, configure it with the following user permissions, as shown below:
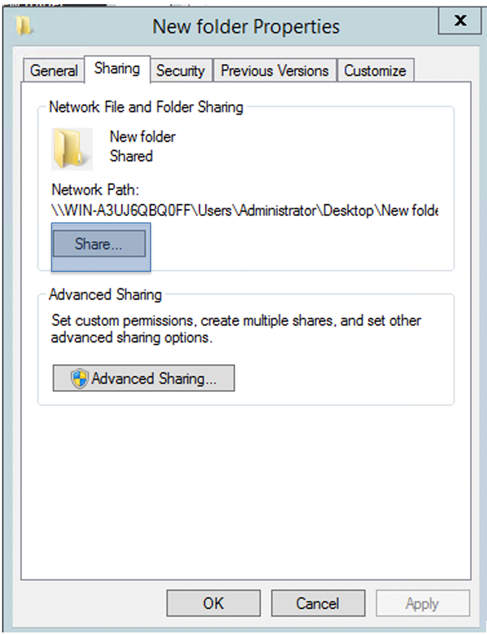
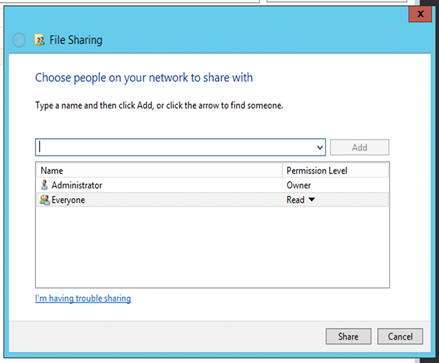
After the correct permissions have been added, enable sharing for the file share by right-clicking on the folder selecting share tab as shown below:
Run the below command inside the share to download Splunk MSI binaries
[Net.ServicePointManager]::SecurityProtocol = [Net.SecurityProtocolType]::Tls12
wget'https://download.splunk.com/products/universalforwarder/releases/8.2.2.1/windows/splunkforwarder-8.2.2.1-ae6821b7c64b-x64-release.msi'-OutFile splunk-uf.msi
Command to download Splunk MSI binary
Create a PowerShell script (install-splunk.ps1) with the below contents inside the file share. Do not forget to change the “<share path>” with the Share path you have created and update the deployment server field with your deployment server’s hostname or IP address and management port. You may also change the password flag’s value based on your requirements.
 ## Copy a local copy of the installation msi
cp <share path>\splunk-uf.msi C:\Users\Public\Downloads
## install SUF and point it to the deployment server group
msiexec.exe /i C:\Users\Public\Downloads\splunk-uf.msi AGREETOLICENSE=Yes DEPLOYMENT_SERVER=10.10.33.10:8089 SPLUNKUSERNAME=Admin SPLUNKPASSWORD=Splunk2021? /quiet
install-splunk.ps1
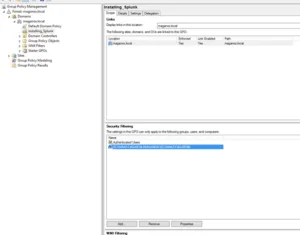
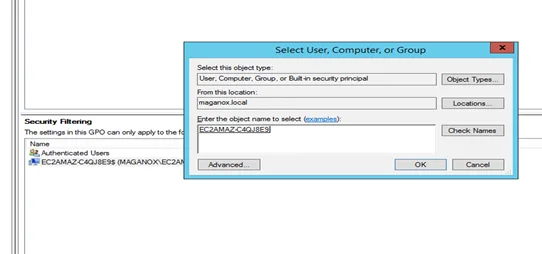
Once the file share and the automation scripts are set up and configured correctly, log in to your DC (maganox.local in this case) and use Group Policy Management Editor to create a new GPO (Installing_Splunk). To ensure the GPO is only applied to the correct computers, add the target computers accounts under the Security filtering tab as shown below. You can also create a new group that includes all the target computer accounts if the target list is extensive.
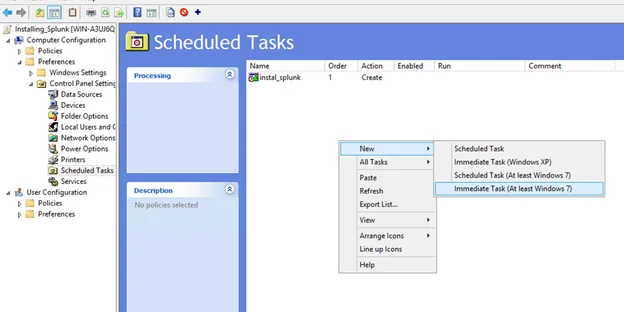
After adding all the required computer accounts, navigate to Scheduled Tasks under Group Policy settings and create an immediate task as shown below.
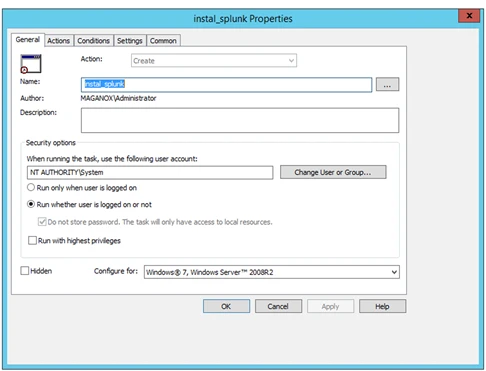
Provide a suitable name for the scheduled task in the general tab and assign NT AUTHORITY\System user to perform the task. Configure the Action setting to execute the PowerShell script created earlier in the file share, as demonstrated below.
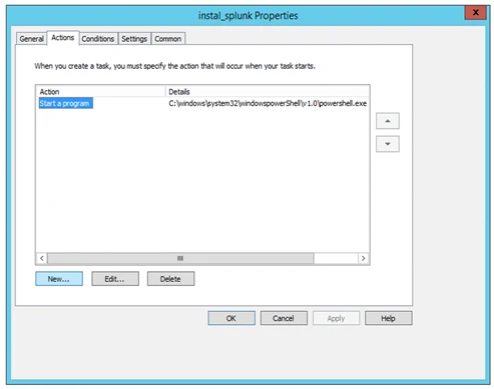
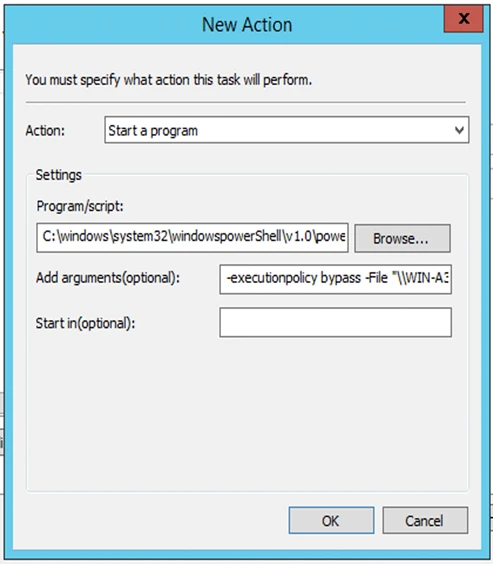
## Program/script:
C:\windows\system32\windowspowerShell\v1.0\powershell.exe
## Add arguments(optional): (Replace “<share path>” with your Share path)
-executionpolicy bypass -File "\\<share path>\install.ps1"
GPO Scheduled Tasks Properties (Action tab parameters)
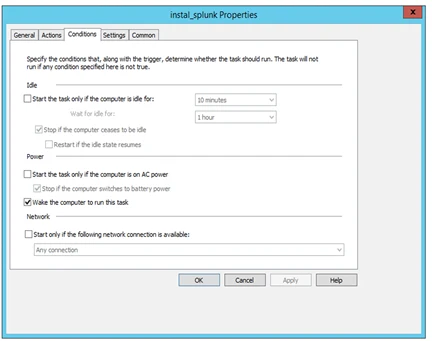
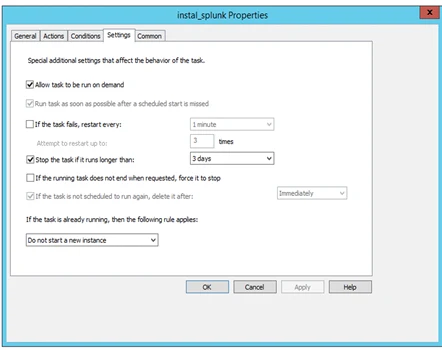
Configure the Conditions and Settings tabs accordingly.
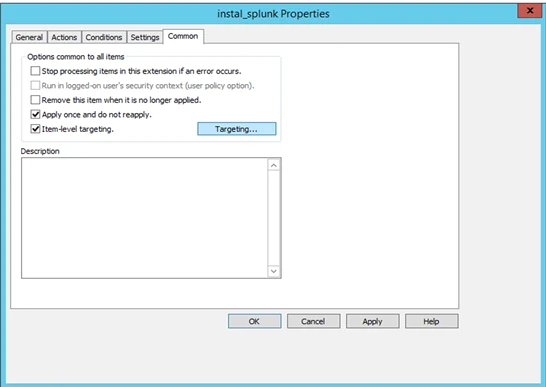
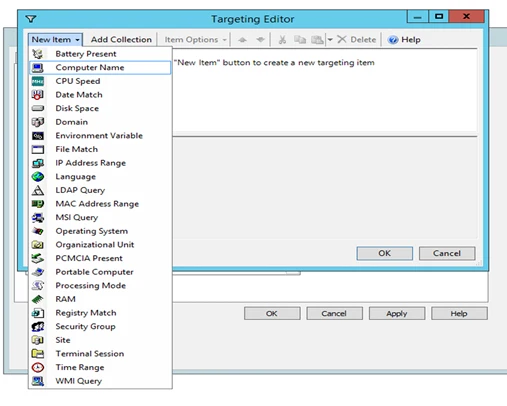
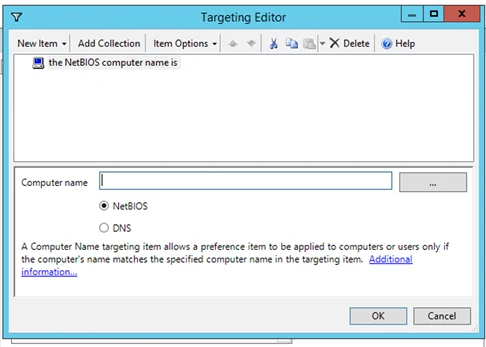
Finally, check the “Apply once and do not reapply” and “Item-level targeting“ options in the Common tab. Then click on the Targeting Editor( Targeting… ) and add the target computer accounts by selecting Compute Name option. The Targeting Editor offers several filters to conveniently set the correct target computers, as shown in the figure below; for example, you can choose Windows servers name or use IPs instead of Computer name.
Once you are satisfied with the targets and the configurations, click apply to activate the group policy. Finally, update the group policies in the target computers to reflect the new changes.
To sum up, these are the step you will need to perform to complete the deployment:
- Set up a file share accessible by DC and the target computers.
- Write a PowerShell script to automate the installation process.
- Create and configure a GPO and scheduled task for automating the deployment process.
Hopefully, this blog will assist you when deploying SUFs in similar scenarios. Please visit our website www.leocybsec.com or drop us an email at info@leocybsec.com if you have any queries regarding Splunk Universal Forwarder deployment best practices.